How Much Toe Room Do You Need in Hiking Boots?
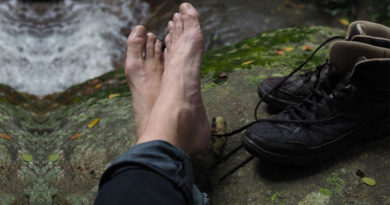
When you are getting prepared for a hiking adventure, the first thing that tops the checklist is, of course, a good pair of hiking boots. To enjoy a smooth hiking trip, it is important to avoid blisters on your feet. Finding a perfect pair of hiking boots is exactly like a matchmaking process.
All beginner hikers go through the same question when getting a pair of boots that is how much toe room do they need in the hiking boots? This question cannot be neglected or else it will result in a black toenail, severe injuries, wounds, and swelling. Let us not forget the amount of discomfort the hikers going to face throughout the whole trip.
There are several ways and tips that you must keep in mind when buying a perfect pair of hiking boots that ensure a perfect grip and fit and do not make you feel uneasy at the end of your hike. There is no universal measure for the toe room in your hiking boots. It is all about your personal comfort. If you have bigger toes, get a boot that is big enough to allow a lot of room for your toes. The typical advice is the thumbnail of the thumb width between the end of the toe and where it would touch the toe box.
How to Get the Perfect Fit?
Knowing the right size of boots can make a huge change in your hiking. By avoiding big gaps and tight squeezes of the feet with the boots, you will have blister-free feet. Here are some of the tricks and factors that can help a hiker find the perfect fit for hiking boots.
1. Best Time to Buy
The foot size you have at the store is not the foot size you have after 10 hours of being on the trail. You are probably half a size bigger at the end of the day than you are at the store. You might be a full-size bigger after a week of being on the trail. So it is a good idea to choose boots half a size bigger. You don’t want them so big that you can’t lace them up tight enough and your feet slide back and forth. You want just enough room for your foot to expand and grow.
Therefore, it is better to go in the evening to buy boots. You will notice a difference in your size from that in the morning. A slightly bigger foot gets an accurate fit for the hiking boots. During hiking, it is natural for the foot to be swelled up, as the boots get tighter the foot is injured which is discomforting.
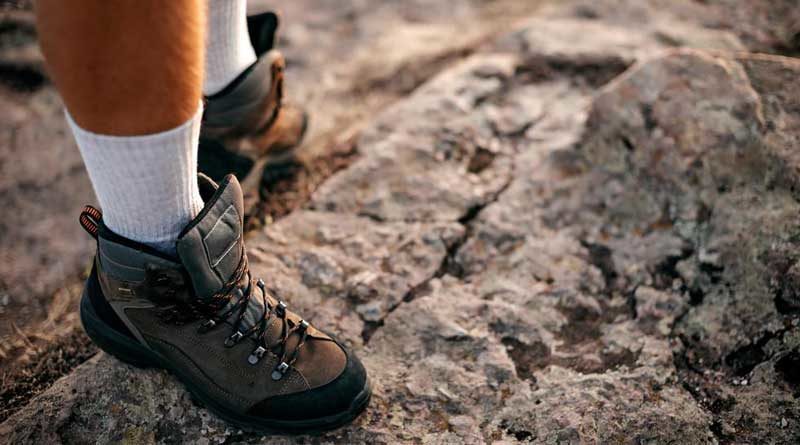
2. Wear Hiking Socks
Socks also play a very important role in overall sizing. Because when you hike, you mostly wear socks with your boots. These socks may cause an issue later on your hike. Hiking footwear does not go with casual nylon try-on socks. Make sure to wear a pair of proper hiking socks to avoid potential sizing issues.
After wearing the boots, try to wiggle your toes and see if they have enough room to move the toes. Take your time to try your boots. Take a walk in the store wearing both boots on, and climb up and down the staircase. If you feel discomfort at that time then it will worsen your hike ten times more.
3. Tap Toe Test
Following the first two steps, it is now time for the tap toe test. As the name implies, you stand still with unlaced boots and tap your toe firmly on the floor behind the heel of the other foot. This will make your foot slide as far away from the front of the boot.
Now at the back of the boot, slide two fingers. Your fingers should fit snugly there. Make sure the space is not too tight. If it is too tight, consider a bigger size. Similarly, if it is too loose, switch to a smaller size.
4. Hike Downhill
During your hike, you will surely hike on downhill or steep surfaces. To check if you have enough toe room in your hiking boots, you should walk on a ramp. Most stores will have a ramp where you can try your boots before buying. It will give you a pretty good idea of how your boots will feel on downhill terrain.
Keep in mind of you will be hiking mostly uneven terrain, it is suggested that going a full size bigger will keep your feet from bruises. On the other hand, if you are planning to hike on mostly flat terrain or pavement, a half size would be fine.
5. Thumb Rule
As I mentioned earlier, the space between your toe and the front of the boot should be around a width of a thumb. Again, this is a good starting point but it does not always work. So always give priority to your own personal comfort rather than just following the rule.
6. When Shopping Online
A lot of people buy stuff online but when it comes to footwear, choosing the right size online can be challenging. There is a great variation in different manufacturers’ sizing charts. Do not rely on the stated chart size provided on the websites. Choose to shop with the brands from where you have already tried out their boots before. Because many brands have a consistent foot fit so the foot size is standard for different boots styles. If still uncomfortable, return the boots if you find your size inappropriate once the order is delivered.
7. Insoles
It is also one of the important factors that can affect your adventure. Footbeds (insoles) increase weight, support, stability, and comfort level. Insoles help to secure a stable step on uneven and rough surfaces of hiking trails. Footbeds will provide a cushion and they absorb shock. A perfect fit will ensure your ankle and feet great support and prevent them from long-term structural injury or misalignment of the body structure.
Final Words
Quality hiking boots should be comfortable enough that you can hike for miles with ease. They should be sized properly to prevent sore feet and damaged toenails. Your hiking footwear will be the basis of every experience on the trail. An ill-fitted pair will not take you that far. Hiking boots make sure that you feel comfortable, provide you with safety, and reduce the chances of slipping off the surface. When you know how to check the toe room, you will not face any issues finding the right pair to enjoy a hassle-free adventure that is waiting ahead for you.