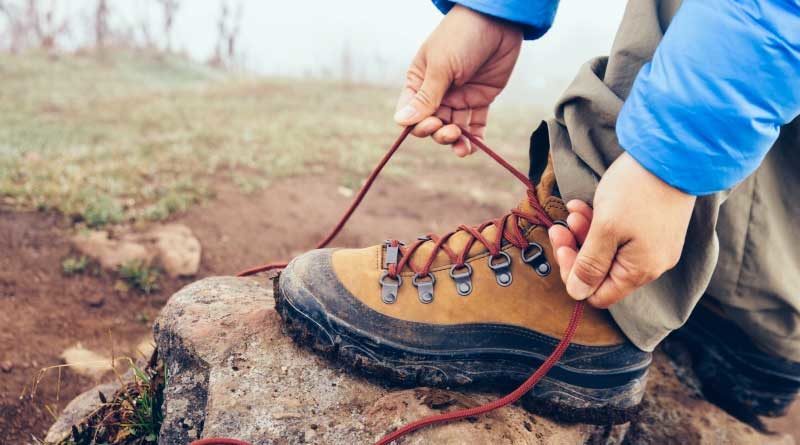
How to Tie Hiking Boots to Prevent Blisters?
Every hiker and backpacker dreams about finding that perfect fitting boot or shoe even though deep down we all know it doesn’t really exist. Even the best fitting footwear can leave a little bit of want for fine-tuning. Luckily, there are a number of techniques to tie hiking boots that can be used to improve fit, hold your foot in its proper position. Keep in mind that everyone’s feet are different. One lacing technique is going to work for everyone. If you’ve got low arches or a low volume foot, there’re techniques that can be used to apply supportive pressure across the top of the foot. But that same technique won’t work if you’ve got high arches or high volume foot. In fact, that can actually apply too much pressure or even restrict circulation. The good news is there are other techniques that can be used to address that concern.
So here are a few easy lacing techniques to improve fit, increase comfort and prevent blisters.
Surgeon’s Knot – For Heel Lift
To protect your heel from excessive lifting and keep it firmly in place, try the surgeon’s knot. Start by pulling out any slack in the forefoot of the boot. So it’s nice and snug over the top of your foot. Now find the hooker eyelet that’s located closest to your heel. You’ll tie your first surgeon’s knot just below this point. To tie the knot, just wrap the laces around each other twice and pull them tight. Now thread the laces through the hook and tie a second surgeon’s knot. Finish tying your boots like normal. The surgeon’s knot is unlikely to slip so your boots shouldn’t loosen up as you hike.
Double Overhand Knot
Though it isn’t traditionally used in boot lacing, a general double overhand knot can be a really valuable problem solver. Start by lacing your boots as you normally would. Reach the point at which you’d like to position the double overhand knot, which I’ll talk about more in a little bit. Cross the laces, bring one underneath, bring it underneath again and then pull outwards to tighten. You create a lock lace more or less that allows you then to tension the lacing above or in the upper part of the boot differently than in the lower part. You can position that double overhand knot down near the base of the laces, lock it in above the ankle, or position it anywhere where you find it most comfortable to have different tension below or above.
Once you’re comfortable using the double overhand knot, you’ve got options. Oftentimes backpackers or hikers will blame ill-fitting boots for soreness or blisters. It’s not always because there the wrong size but perhaps there’s just a little bit too much or too little space for that perfect fit. By using lacing techniques to secure your ankle to the back of the boot, you can alleviate soreness and cut down on undue rubbing.
Start with that double overhand knot so that you’re locking off tension to the lower part of the foot. Leave a little flak and make sure that you aren’t applying undue pressure to the toes and then as you go back to lacing rather than crisscrossing in a traditional manner, bring the laces along the perimeter. Feed them through the eyelets or however you’re lacing is on your boot until you’ve reached the highest eyelet. At that point bring the laces back across the front of the boot and feed the lace beneath the lacing on the other side. As you pull those tight you will see that you’ve created kind of a webbed matrix across the front of the boot and as you tighten that, it really snugs the cuff and secures your ankle and heel.
This technique will make it nearly impossible for your foot to slide forward or for your toes to bang against the front of the boot. It should also keep your feet from lifting or rising up out of the boot, which could otherwise lead to painful hot spots for heel blisters.
Window Lacing
Another common complaint is pain or irritation across the top of the foot. This sensation can be amplified as your feet swell during the exertion of long days on the trail. I’m going to show you some useful tips for relieving some of that pressure and providing just a little bit of extra wiggle room.
First, unlace the boot entirely and begin to run that lacing along the perimeter rather than crisscrossing it in a traditional manner. Once you bring that lacing up beyond the uncomfortable point of pressure, go ahead and apply the double overhand knot. At this point continue lacing in a traditional criss-cross manner across the front of the booth. You’ve created extra space in the forefoot. You’ve given that part of your foot some room to spread out and breathe. This is an especially useful technique for hikers with high arches or high volume feet. Don’t be afraid to combine techniques or experiments depending on the eyelet placement of your boots or shoes. You may need a variation on the techniques I talked about or you may simply find that a completely different technique is more comfortable for you.
Relieving Toe Pain
If your toes start to pain during your hike, try this trick to relieve the pressure so you can make it back to the trailhead. Start by fully unlacing your boot. Now lace it back up but skip the first set of eyelets. This way the toe box of the boot will stay looser and take some of the pressure off of your toes. Keep in mind that this is really a stopgap solution for relieving pain that starts during your hike. If your toes always hurt in your boots, you probably need a different pair.
There are no fixed rules and it is definitely worthwhile trying different techniques and find what works best for you so you can worry less about your feet and more about enjoying your time outdoors.