7 Backpacking Lunch Ideas that Don’t Require Cooking
Some benefits of cooking are having a nice hot meal at the end of a long day of backpacking. It may not feel as important in the summer but if you’re hiking in the cooler months, it’s definitely a morale booster. Also, having some hot coffee in the morning is one of my favorite things about being on the trail and cooking.
On the other side of things, if you’re a person who wants to see more and get more miles logged in a day, cooking is going to take more time away from hiking. Finally, your pack is going to be a little bit heavier because you will be carrying your fuel, stove, and cookware.
So here are the 7 easy no-cook backpacking lunch ideas.
1. Tuna Packets with Crackers
The first idea that I have for you is the Tuna Packets with Crackers. This is my go-to backpacking meal because it’s of course no-cook and it’s simple. You just take it out of your pack and just use crackers to scoop the tuna. You don’t even need any silverware or bowls or plates or anything like that. It’s simple and these tuna pockets are so good. I love them from a brand called Safe Catch as they come in all sorts of flavors and they have 18 grams of protein in it. They’re also super high-quality and delicious. You can vary up the flavor of tuna and then also the flavor of crackers. I personally like cheddar crackers and it is one of my favorite because it gives you some variety out on the trail.
2. Tortillas with Peanut Butter
The next lunch idea for backpacking is tortillas with some peanut butter, almond butter, honey, granola, or trail mix. This is really simple and I usually pack two tortillas (one is enough for one lunch). You just take it out of the bag and then spread it on your favorite peanut butter or nut butter packet. I also pack in one raw honey packet. Drizzle that on top of the peanut butter and take it to the next level by adding in some granola or your favorite trail mix. Just sprinkle that on top and that adds a nice crunch, some extra calories, and it tastes so delicious. This lunch idea also works as breakfast if you need to just get up and start hiking right away and you don’t want to cook things.
3. Pita with Salami Cheese Mustard and Mayo
The next idea I have for you is pita with salami cheese mustard and mayo. For this, you need to pack some pitas and some salami, which is good as it doesn’t need to be refrigerated, and then cheese. Get some cheddar squares, mozzarella, or whatever you prefer. Hard cheese like cheddar works best for backpacking because they have lower moisture content. For shorter trips (1-2 nights), I sometimes use pre-sliced salami, but for longer trips, buy salami that hasn’t been pre-sliced. It will keep longer. The last part of this lunch is a little packet of mayo and mustard. Just one packet of each is usually good per salami cheese sandwich. When you’re getting ready for lunch, just open your pita, spread on some of that mayo and mustard, layer in some cheese and salami, and that’s it.
4. Jerky
These are thin strips of beef or fish that are extremely lightweight and easy to pack in your backpack. Jerky also provide a good balance of calorie per ounce as it is rich in protein, fats, and carbohydrates. If you have time and a dehydrator at home, you can make DIY beef or fish jerky at home. The shelf life of jerky can vary depending on how it is made. If you have dried it well and there wasn’t a lot of fat in the meat, it will probably last for up to two weeks. Pre-made jerky purchased from a store will have an expiration date but you can easily tell when the beef or fish has gone bad as it will taste rancid.
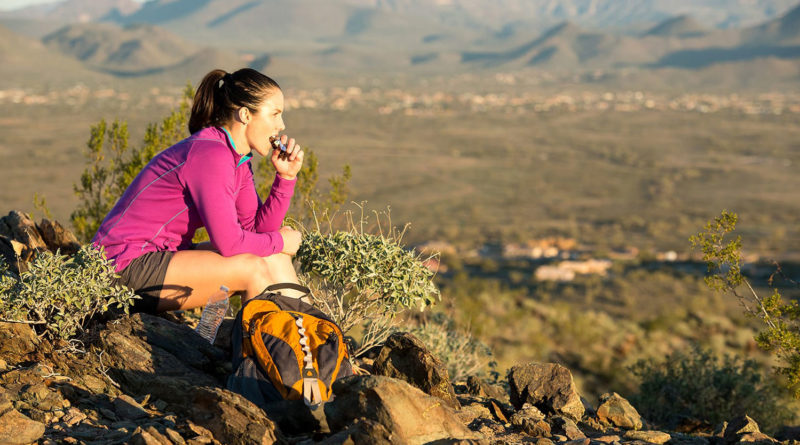
5. Energy Bars
An energy bar is always there when you need it most. It’s a good and instant way to put high-quality and tasty fuel in your body. They come in a wide variety of flavors and prices but they usually cost between $1-3 per piece. It’s a good idea to pack up a few when packing your backpack but don’t pack too much or overstock them as it will increase the cost. If you are buying them at REI, you can get a sweet 10% discount if you buy 10 or more. Other stores may also provide discounts if you buy them in bulk. An energy bar that doesn’t taste good is not much fun to eat so it’s important to choose a tasty flavor. Some bars with good flavors include Bobo’s Oat Bars, TAOS BAKES, Kate’s Real Food, and TAOS BAKES.
6. Vegetable Sandwich with Hummus
A sandwich is a great way to help maintain energy levels and you will be glad if you stuff one in your pack. So for anyone steering clear of meat on the trail, a vegetable sandwich is an easy option with enough proteins and good flavor. It’s easy on the gut and requires minimal preparation. All you need is a slice of bread, tortilla wraps, or flatbread like pita or lavash. You can fill the bread with sliced carrots, cucumbers, olives, hummus, and crumbled feta. Add salt and black pepper if you like. Since cucumbers can make a sandwich soggy, remove the seeds to limit the moisture that can seep into the bread. You also have the option to layer lettuce in between the hummus and bread or wrap. This will keep the moisture from seeping into the bread.
7. Cold Soaking
Another option for people who decide to not cook is cold soaking. With cold soaking, all you need is some kind of container like a twist lid, Tupperware dish and then you just pour in some type of food that would need rehydrating like rice or pasta. Now add water, close the top, and put it back in your pack while you’re hiking for a bit, and then when you get to camp, your lunch is ready. In cooler temperatures, you can pack out more fresh-type foods like apples, vegetables, spinach, or cheese to add more variety to your diet. But keep in mind that those fresher foods that don’t need rehydrating are going to be a little bit heavier.
How Much Food to Bring?
One thing people seem to stress over when they go on their first backpacking trip is how much food should I bring per day? Well, you don’t want to have way too much because you will be carrying weight on your back. You also don’t need to have way too little because you don’t want to be hungry. The general rule of thumb is two pounds per day. This is of course going to vary from somebody who’s a small female to a larger male, but again, the general rule of thumb is two pounds per day and you should be pretty good with that.
Thru-hikers or long-distance backpackers tend to worry more about how many calories are in each pound of their food. They want to make sure that they’re maximizing that ratio so that their food is as light as possible while they’re also getting as many calories as possible. But when you’re on a section hike or a weekend trip, this isn’t something that people generally stress about as much.
Food Storage
Once you have all of that good food picked out you’re going to carry with you on your backpacking trip, you need to have something to keep in. Most people go with a lightweight waterproof bag that has a roll-down top and then clicks together. As far as sizing goes, if you’re going on a trip for up to five days, a 15-liter bag is a pretty good place to start. On my thru-hike of the AT, I carried a 15-liter bag that was pretty cheap. For PCT and CDT, I carried the Zpacks Ultralight Bear Bagging Kit, which is 14-liter but because of the shape of the bag, it held my food a lot better than the bag did that I used on the Appalachian Trail.